


Forgetting to stop recording after a lecture, meeting, or writing session is something many Noted users are all too familiar with. As a result, they’re left with hours and hours of excess recording which can be difficult to review and eat up storage space.
It’s no surprise an audio trimming tool is one of our most highly requested features, and the wait is finally over!
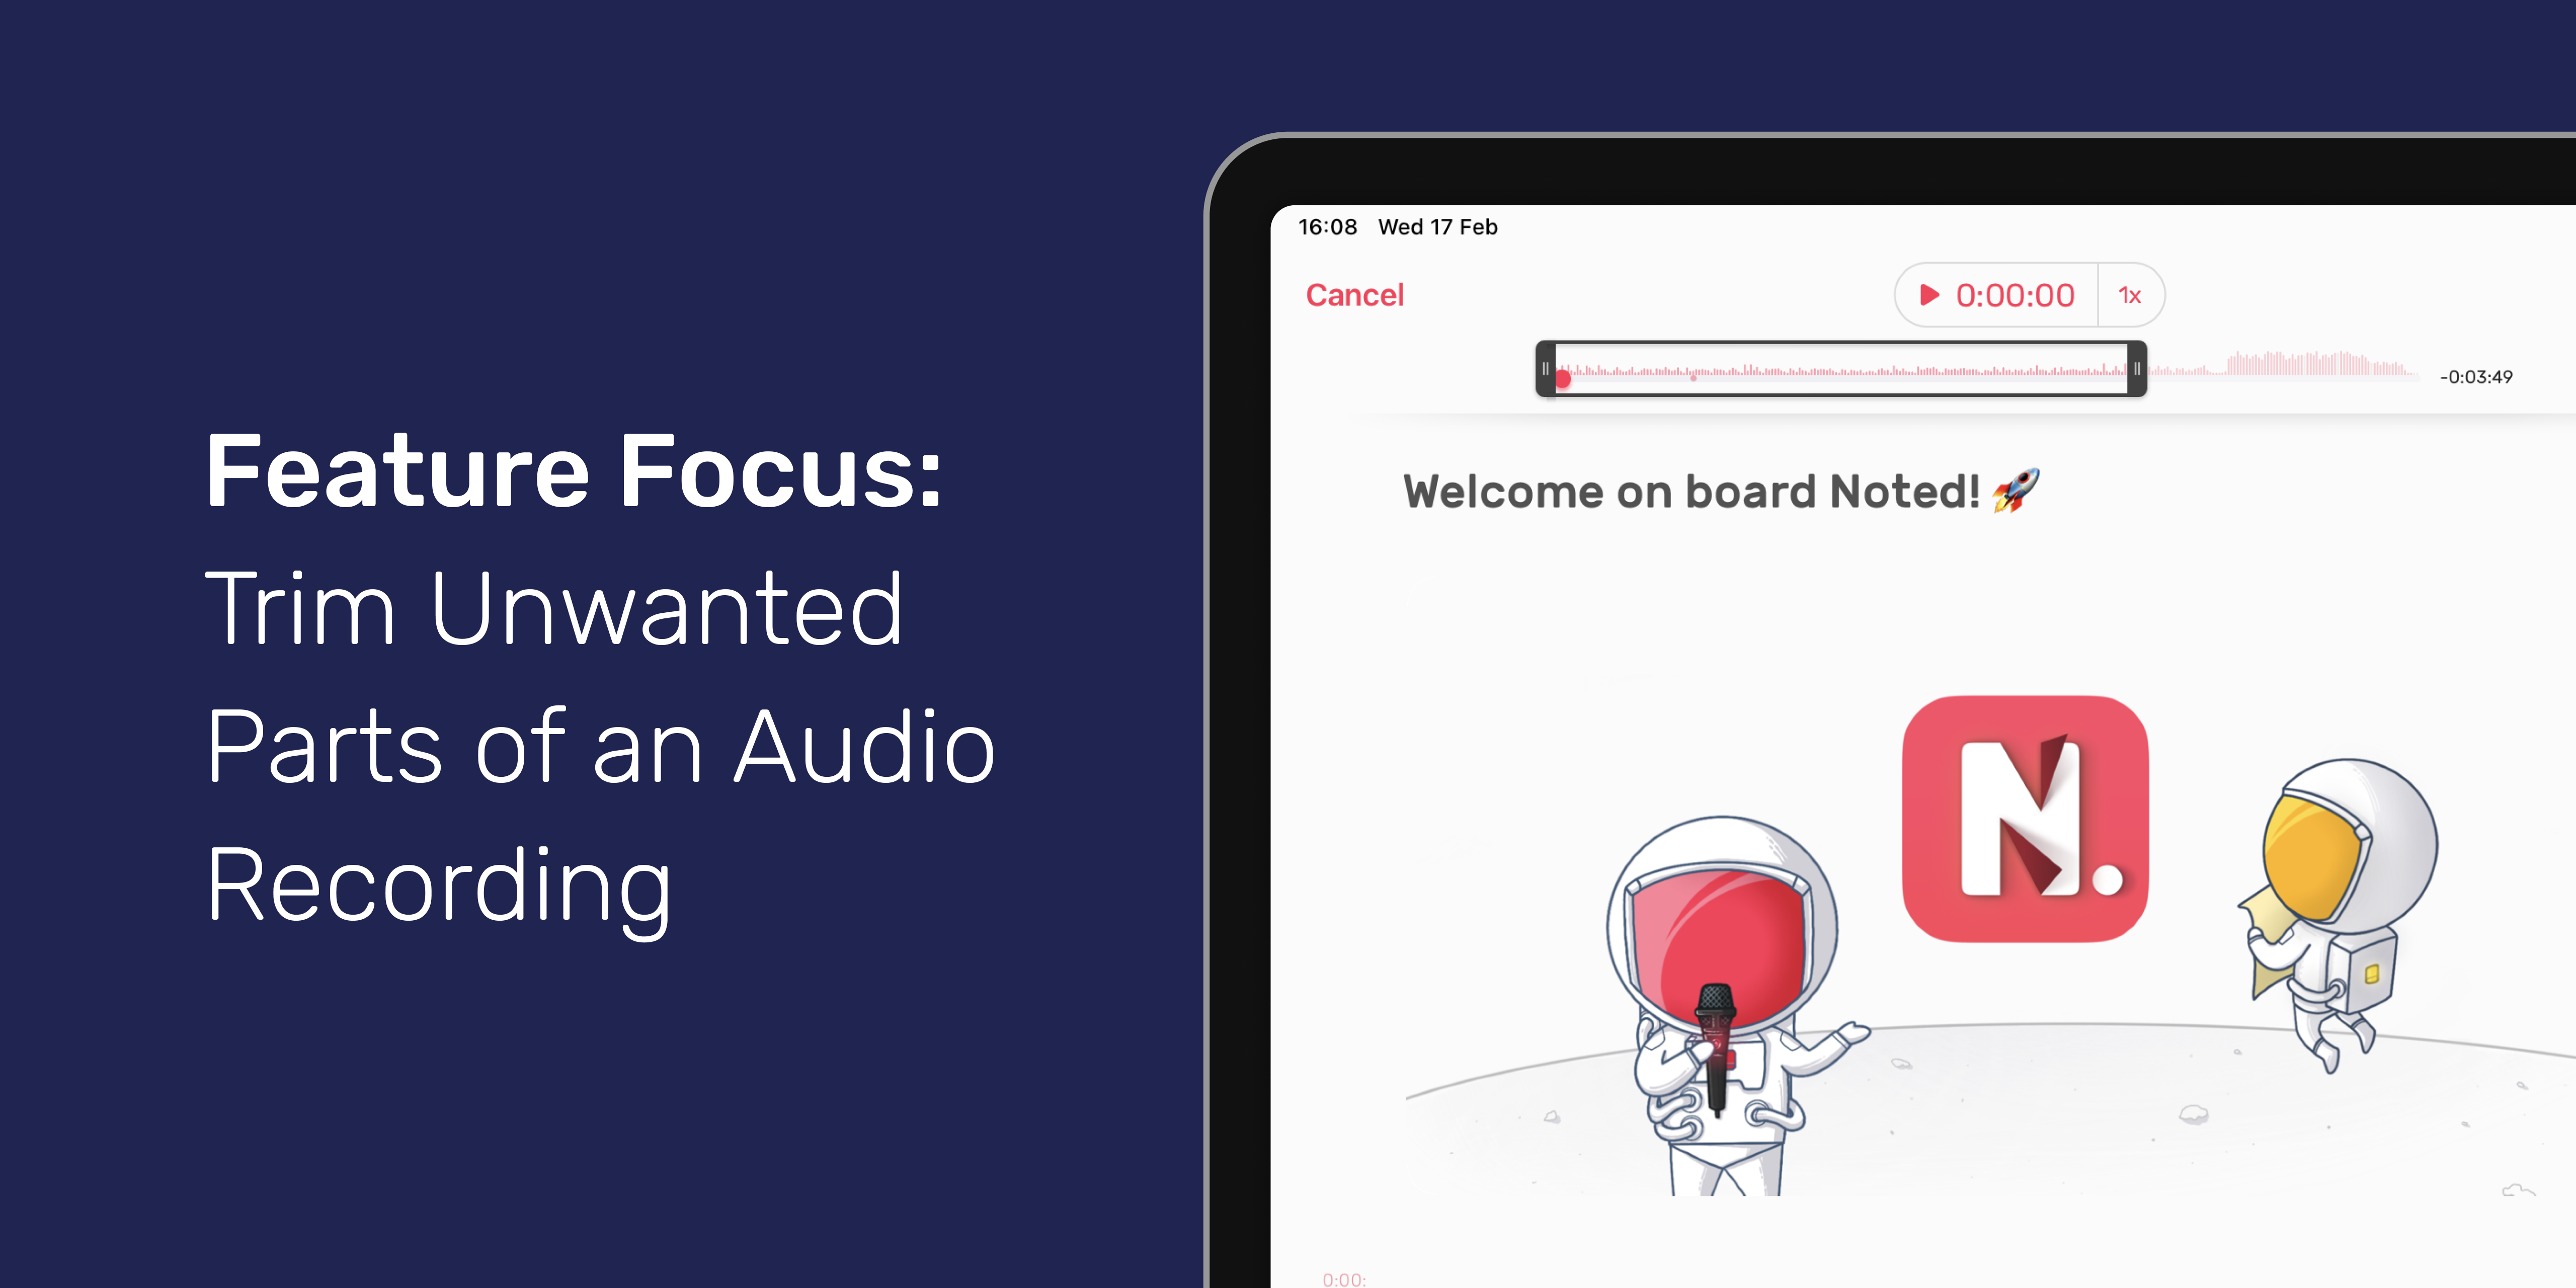
In this post we’ll show you how to use the new Audio Trimming tool on iOS and macOS to truncate unnecessarily long recordings and keep only the part you need.
How to Trim an Audio Recording
iOS
- Open Note Settings.
- Scroll down and tap on the ✂️ Trim button.
- Drag the Trim Frame to select the part you want to keep.
- Tap on the ✂️ button in the top right corner.
To undo trimming:
Open Audio Trimming again and click the Undo button next to ✂️ in the top right corner. Remember, trimming is final once you exit the note and cannot be undone.
macOS
- Open Note Settings.
- Click on the Trim button under ‘Audio file size’.
- Drag the Trim Frame to select the part you want to keep.
- Click Trim.
To undo trimming:
Fire up the Audio Trimming window again and click the Undo button, or use the shortcut Command(⌘)+Z. Like iOS, you can’t undo trimming after you’ve exited the note.
No more lengthy audio!
With our Audio Trimming, you can say goodbye to parts of an excessively long recording quickly and easily.
If you like this new feature, you’re going to love our Version 3.2 update! Check out everything we’ve recently added to Noted.
Want to stay up-to-date with our future updates? Connect with us on LinkedIn, Facebook, Twitter, and Instagram. Don’t forget to subscribe to our newsletter to get exclusive sneak-peeks of new features we’re working on.
